Enabling the console in Euro Truck Simulator 2 is very easy.
You just need to modify two values in the config.cfg file.
Here's a short step-by-step guide:
The location may depend on your operating system:
- Windows: <User>\Documents\Euro Truck Simulator 2
- MacOS: <User>/Library/Application Support/Euro Truck Simulator 2/
- Linux: <User>/.local/share/Euro Truck Simulator 2/

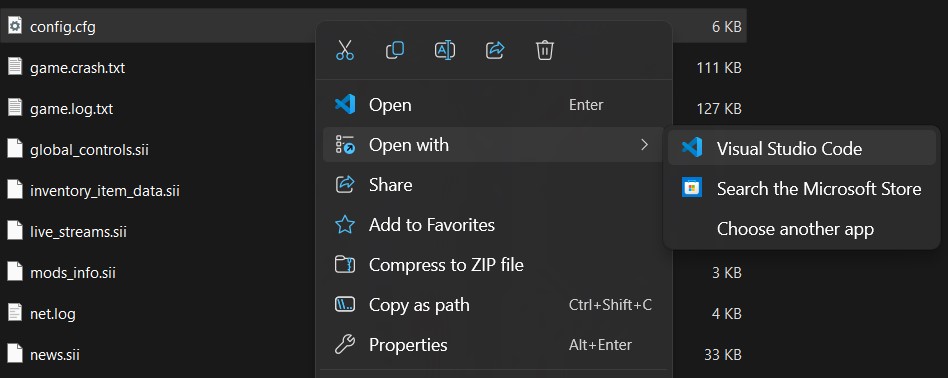
You can open it in any text editor (like Notepad), but if possible, it's most convenient to use a code editor like Visual Studio Code.

In most text editors, you should be able to do this by pressing CTRL + S (or CMD + S on Mac). Alternatively, go to File -> Save File.
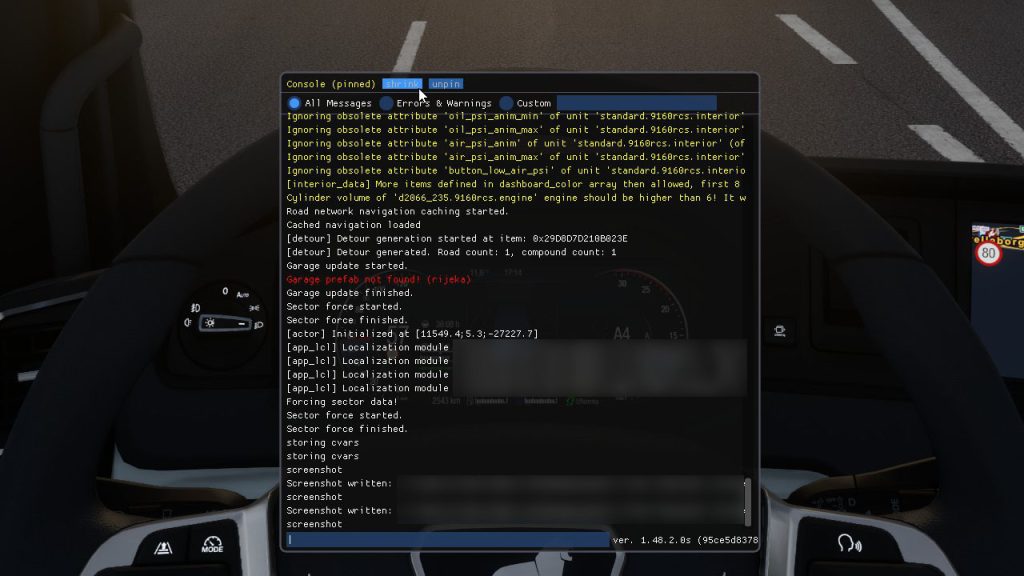
Opening the console in the game
Once you save the file, run Euro Truck Simulator 2.
To open the console, press ` on your keyboard.
What if you mess up the config.cfg file?
I understand that some people may be afraid of making changes to the code, but it's not a big deal.
Even if you mess something up (e.g., accidentally delete some important lines of code), all you need to do is delete the config.cfg file and start your game.
It should then generate a default, properly working file for you.

